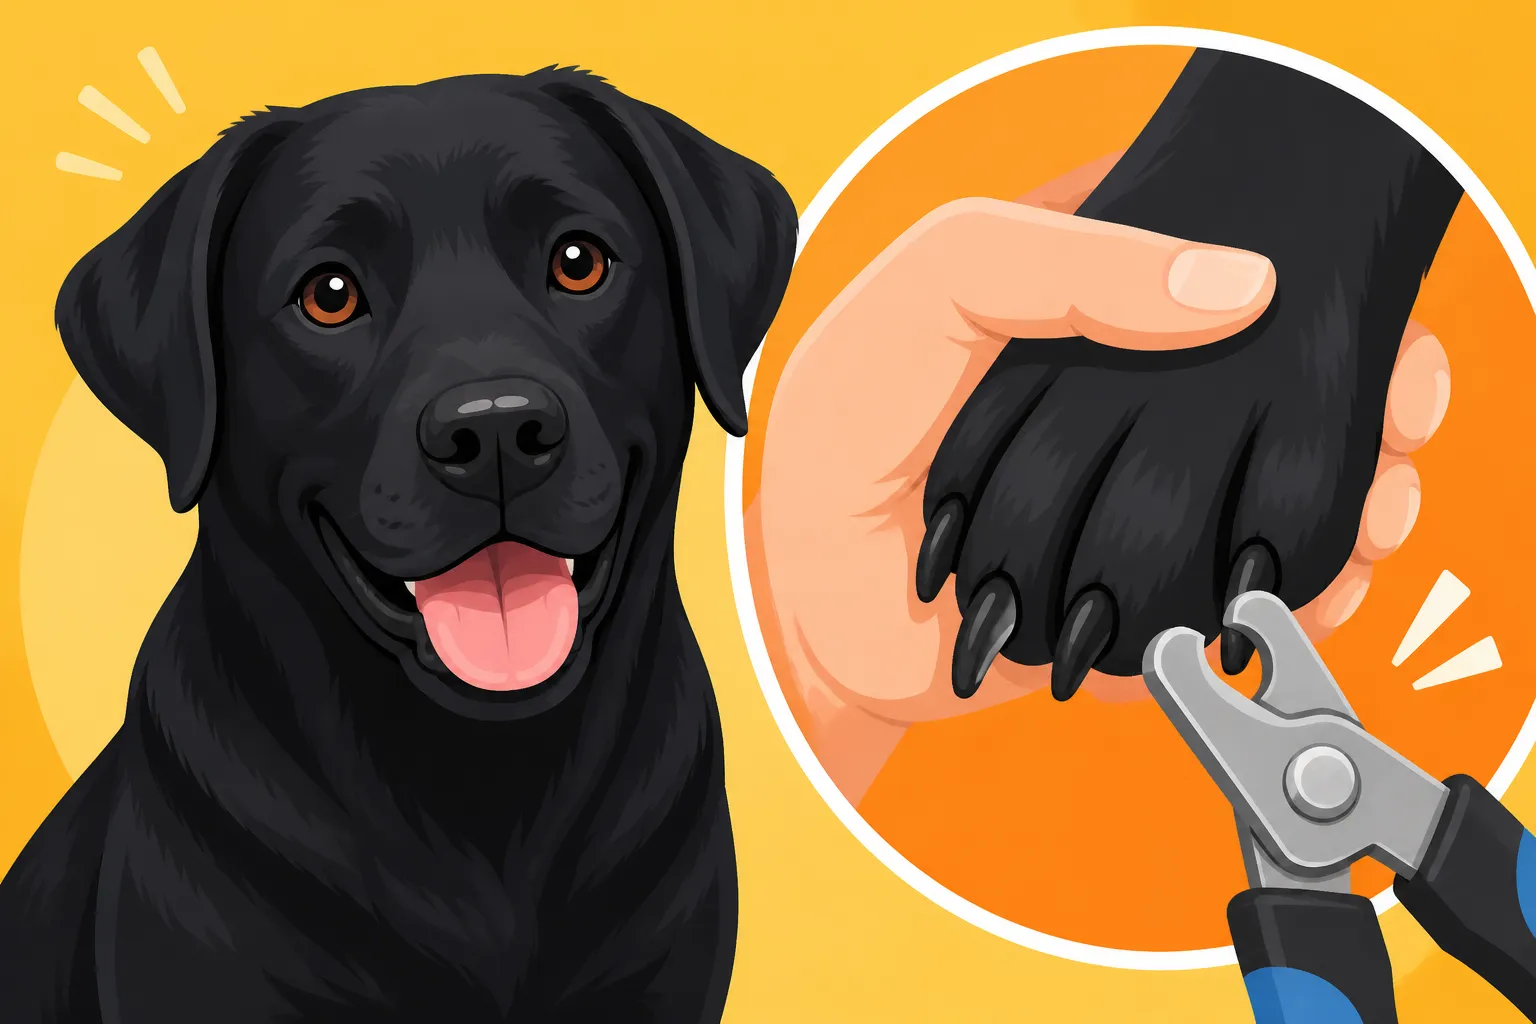
Trimming Black Nails on a Labrador
One of the most intimidating tasks for any Labrador owner, especially if your beloved pup has those tough, dark nails, is trimming them. It’s easy to feel a surge of anxiety – what if you cut too short? What if you hurt them? Many of us have been there, watching our Labs wince or pull away, and suddenly, a routine chore feels like an impossible mission. This guide is here to walk you through the process of trimming black nails on your Labrador Retriever safely and confidently, turning a dreaded experience into a more manageable one for both of you.
Understanding the Anatomy of Black Labrador Nails
Before we even pick up a clipper, it's really helpful to understand what's actually inside your Labrador's nails. This knowledge is your first line of defense against fear and accidental nicks. While black nails make it impossible to see the internal structures from the outside, knowing they're there helps us trim with intention rather than just guessing.
The Quick and the Blood Supply
Every dog nail, regardless of color, contains a sensitive area called the "quick." This quick is made up of blood vessels and nerves, and it actually extends further down the nail than many people realize, especially if the nails haven't been trimmed regularly. When a nail is cut too short, it’s the quick that gets hit, causing pain and bleeding. It’s a truly unpleasant experience for your Labrador, and understandably, it can make them extremely wary of future nail trims.
With light-colored nails, you can often see the quick as a pinkish area. But with black nails, it's completely hidden by the pigment. This is precisely why trimming black nails feels like navigating a minefield in the dark. The quick also grows with the nail; if nails are left long, the quick will lengthen, making it even harder to trim them back without hitting it. This is why consistent, even if small, trims are so important.
The Importance of Paw and Nail Health
Beyond the quick, a Labrador's paws are their foundation for all their adventures, whether it's a long walk, a swim in the lake, or a romp in the park. Overgrown nails can actually cause significant discomfort and even long-term health issues. When nails get too long, they push up into the nail bed, distorting the alignment of the toes and putting pressure on the paw pads. This can lead to pain, arthritis down the line, and an unnatural gait that stresses their joints. Imagine trying to walk in shoes that are too small and always make your toes curl up – that’s a bit like what long nails feel like to your dog. Regularly tending to their Labrador Ear, Paw and Nail Care is crucial for their overall comfort and mobility.
Essential Tools and Preparation for Safe Trimming
Having the right equipment and setting the stage properly can make all the difference in a successful nail trim. Don't underestimate the power of good tools and a calm environment!
Choosing the Right Clippers or Grinder
There are two main types of tools you can use for your Labrador's nails: clippers and grinders. Both have their pros and cons, and what works best might depend on your dog's temperament and your comfort level.
- Scissor-style Clippers: These are often recommended for their precision and ease of use. They give you a good visual of exactly where you’re cutting. Look for a sturdy pair designed for large breeds; flimsy clippers can bend or crush the nail, which is painful.
- Guillotine-style Clippers: These have a small hole where you insert the nail, and a blade slides across to make the cut. Some people find these less precise for black nails, as it can be harder to gauge the depth.
- Nail Grinders (Dremel-style tools): These battery-operated tools file the nail down gradually. They eliminate the risk of cutting the quick too deeply and can create a smoother finish. However, they make noise and vibrations that some Labs find unsettling. If your Labrador is sensitive to sounds, this might require more desensitization work. Brands like Andis and Dremel offer popular pet-specific grinders that you can often find on platforms like Amazon or Chewy.
Comparison of Trimming Tools
| Feature | Nail Clippers (Scissor/Guillotine) | Nail Grinder (Dremel-style) |
|---|---|---|
| Precision | Allows for quick, decisive cuts. Can be less precise with black nails. | Gradual filing, allows for more control over length. |
| Speed | Faster if dog cooperates. | Slower overall process, but less prone to mistakes. |
| Noise/Vibration | Minimal noise (a "snip"). No vibration. | Can be noisy and vibrate, which may scare sensitive dogs. |
| Risk of Quicking | Higher risk, especially with black nails. | Very low risk if done gradually, but can still quick if over-filed. |
| Nail Finish | Can leave sharp edges; may require a file afterward. | Smooth, rounded finish. |
| Cost | Generally less expensive for good quality clippers. | Often a higher initial investment, but durable. |
Must-Have Supplies for Safety and Success
Beyond your chosen trimming tool, you’ll need a few other items to ensure the process is as smooth and safe as possible:
- Styptic Powder: This is absolutely non-negotiable when trimming black nails. Even the most careful owner can nick the quick, and styptic powder (like Kwik Stop) will quickly stop the bleeding and alleviate pain. Have it open and ready before you start. You can easily order this from Chewy or Amazon.
- High-Value Treats: Labradors are famously food-motivated, and high-value treats are your secret weapon. Think small pieces of cooked chicken, cheese, or even special training treats from brands like Ollie. These aren't just for after-the-fact; they're used during the process to create positive associations.
- A Calm Space: Choose a quiet area where your Labrador feels comfortable and won't be distracted by other pets or household noises.
- Good Lighting: You need to be able to see clearly. If your dog has dense fur around their paws, good lighting helps you part the hair and get a clear view of the nail.
- Towel or Mat: This can provide better grip for your Labrador, especially if you're working on a slick floor, and can make them feel more secure.
Preparation isn't just about tools; it's about your mindset too. If you're stressed, your Labrador will pick up on it. Take a few deep breaths, remember your goal, and approach the task with calm confidence.
The Step-by-Step Process for Trimming Black Labrador Nails
Okay, you've got your tools, your treats, and your styptic powder ready. Now for the actual trimming! Remember, patience is key, and it's perfectly fine if you only manage a nail or two at a time, especially at first.
Positioning Your Labrador
First things first, get your Labrador into a comfortable and secure position. Some dogs prefer to lie down on their side, while others are fine sitting. You might sit on the floor with them, or if you have a smaller Lab, you might place them on a raised, stable surface (like a sturdy table covered with a non-slip mat) so you don't have to bend over as much. The goal is to have easy access to their paws without making them feel trapped or uneasy.
Have your treats within easy reach. You want to be able to reward immediately after a successful action.
Identifying Where to Cut (The "Safe Zone")
This is the trickiest part with black nails, but there are visual cues you can learn to look for:
- The "Hook" or "Curve": Look at the underside of your Labrador's nail. You'll often see a small triangle or a point where the nail starts to curve downwards. The quick typically ends before this downward curve or point. You want to cut just before this curve begins, or parallel to the paw pad if the nail is long.
- The White Ring/Dot: As you make very small cuts, especially with clippers, you might start to see a small white ring appear when looking at the freshly cut surface. If you see a small black dot appear in the center of that white ring, you are getting very close to the quick. Stop immediately if you see this. With a grinder, you'll be filing, and the change in color/texture will be more gradual.
- The Texture Change (Grinder Method): If using a grinder, you'll feel a subtle change in the nail's texture as you get closer to the quick. The outer, dead nail will feel hard and gritty, but as you approach the quick, it becomes a bit softer, almost waxy. This is a subtle cue, but with practice, you'll learn to feel it.
The safest approach is to take off very small amounts at a time. Think of it like a gradual process rather than a single big cut. You can always take off more, but you can't put it back! This also applies to the dewclaws (the nails higher up on their leg), which also have a quick and need regular attention.
Making the Cut or Grind
Once you've identified your safe zone:
- With Clippers: Hold your Labrador's paw firmly but gently. Isolate the nail you're trimming. Position the clippers at the chosen spot, aiming to cut straight across or with a very slight angle. Make a quick, decisive "snip." Don't squeeze slowly, as this can crush the nail. Reward immediately with a high-value treat!
- With a Grinder: Turn the grinder on away from your dog at first, so they get used to the sound. Hold the paw and support the toe firmly. Gently touch the rotating barrel to the tip of the nail. Use light pressure and file for just a few seconds at a time. The friction creates heat, so don't linger on one nail for too long. Move to another nail and come back. This also helps you observe for that white ring/black dot mentioned above. Reward often.
Focus on one nail, then reward. If your Labrador is tolerating it well, do another. If they start to get anxious, stop for the session and try again later. Remember, a good nail trim might mean doing only one paw, or even just one nail, per session. Consistency over perfection is the key to Desensitizing a Labrador to Nail Trims.
Building Positive Associations and Dealing with Reluctance
Many Labs don't naturally love having their paws handled, let alone their nails trimmed. It's a vulnerable feeling for them. The good news is that with patience and positive reinforcement, you can gradually help them become more comfortable.
Desensitization and Counter-Conditioning
This is the cornerstone of making nail trims stress-free. It’s all about slowly introducing the experience in a positive way.
- Start with Touch: Begin by simply touching your Labrador's paws and toes, completely unrelated to nail trimming. Gently massage their pads, hold their individual toes, and lift their paw. Pair this with immediate, high-value treats and praise. Do this several times a day for short sessions.
- Introduce the Tools: Once they're comfortable with paw handling, bring out the clippers or grinder. Let them see and sniff the tool. Don't do any trimming yet! Just show them the tool, give a treat. If using a grinder, turn it on briefly, then off, and immediately give a treat. The goal is for them to associate the sight and sound of the tool with good things.
- Mimic the Motion: Once they're okay with the tool's presence, start mimicking the trimming motion without actually cutting. Tap the clippers on their nails (without closing them), or gently touch the turned-off grinder to their nails. Treat, treat, treat!
- Gradual Trimming: Only when they are completely comfortable with all these steps should you attempt a tiny trim. Aim for just one nail, or even just the tip of one nail. Then celebrate like crazy with treats and praise.
The key is to go at your Labrador's pace. If they show any signs of fear or stress, back up a step and make it easier. A session might only last 30 seconds if that's all they can handle. Remember, consistency is more important than speed. Try to do this several times a week. This process is similar to what you'd use when introducing them to new experiences during their Labrador Puppy Socialization Windows.
The Role of High-Value Rewards
For a Labrador, food is a powerful motivator. Don't be shy with the treats! Every time they tolerate a touch, a sound, or a snip, a delicious reward should follow. This builds a strong positive association: "Nail trims mean yummy food!"
Consider keeping a special stash of truly high-value treats just for nail trims. This makes the reward even more impactful. Some Labs will even become so engrossed in licking a spoon of peanut butter (make sure it doesn't contain xylitol, which is toxic to dogs!) that they barely notice the trim. You can spread peanut butter on a lick mat and stick it to a wall or surface, giving them a distraction while you work. Brands like Ollie often offer nutrient-dense, high-value treats that Labs go wild for.
Troubleshooting Common Challenges
It's common to run into snags. Here are a few:
- My Lab Hates it! If your Labrador is showing Fearful Behavior in a Labrador or actively fighting you, stop immediately. Pushing through will only make it worse. Revert to earlier desensitization steps. Break down the process into even smaller increments. Can they tolerate just holding their paw for a second? Reward that!
- The Quick Bleeds: Don't panic. Apply styptic powder firmly to the bleeding nail. Hold it there for about 30 seconds until the bleeding stops. Apologize to your dog, give them a comforting hug (if they accept it), and end the session on a positive note, even if it's just a quick treat and some quiet time. This isn't the end of the world, but it does mean you'll need to rebuild trust slowly.
- They Won't Sit Still: Enlist help! Have a family member or friend gently hold and distract your Labrador with treats while you focus on the trimming. You can also try different positions or times of day when your Lab is more relaxed, perhaps after a long walk or play session.
- I'm Still Scared! It's okay to admit this! If the fear is preventing you from consistently trimming, talk to your veterinarian or a professional groomer. They can perform the trims for you and might even offer tips or demonstrate techniques to build your confidence. Sometimes, watching a professional can really help you understand the subtle cues and safe zones.
Remember, the goal isn't just to have short nails, but to have a Labrador who tolerates the process without fear. Regular, positive exposure to nail care is a vital part of your Caring for a Senior Labrador routine, as well as maintaining health throughout their life. It also makes vet visits easier if they are accustomed to having their paws handled.
Disclaimer
This article is for general informational purposes only and does not constitute professional advice. Laws, prices and regulations vary by location and change over time. Consult a qualified professional for guidance on your specific situation.