Using a Dremel on a Labrador’s Nails
For many Labrador owners, the sound of nail clippers is often met with a battle of wills, fear, or outright refusal from their beloved furry companions. Those big, strong Labrador nails, especially the dark ones, make the thought of accidentally cutting into the quick a source of real anxiety, leading to overgrown nails that can cause discomfort and even joint issues for your dog. This guide will walk you through everything you need to know about using a Dremel, or rotary tool, to keep your Labrador's nails trim, healthy, and help turn a dreaded chore into a manageable routine.
Why Dremeling is Often Better for Labradors (and their owners!)
Let's face it, nail trimming can be a nightmare. Our Labradors, with their enthusiastic natures and often stoic dispositions, can still make it abundantly clear they don't appreciate having their paws handled, especially when clippers come out. But there's a good reason why many experienced owners and groomers swear by the Dremel for their Labs.
The Frustration of Traditional Clippers
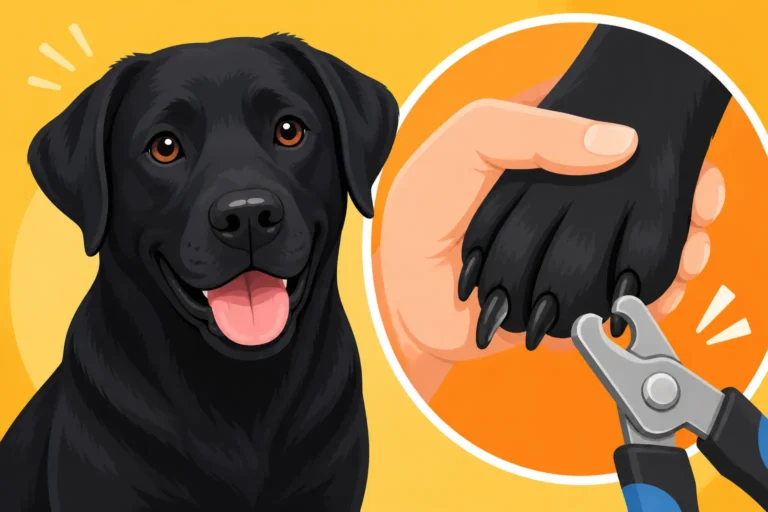
If you've ever found yourself wrestling a 70-pound Labrador while trying to get a good angle on a thick, black nail, you know the struggle is real. Traditional nail clippers, while effective for some dogs, present a unique set of challenges for Labs. Their nails are often thick and strong, requiring a good amount of force to clip, which can be unsettling for both of you. The biggest worry, of course, is the quick – that sensitive bundle of nerves and blood vessels within the nail. With black nails, it's virtually impossible to see the quick, leading to educated guesses that sometimes go wrong, resulting in pain and bleeding. Once a dog has had a bad experience with clippers, their fear and resistance can become deeply ingrained, making future trimming sessions even more stressful. This is why many owners delay, inadvertently allowing nails to grow too long, which can impact their dog's gait and lead to discomfort. You might even notice your dog starting to Read Pain in a Stoic Labrador if their nails become too long and push up into the nail bed.
How a Dremel Changes the Game
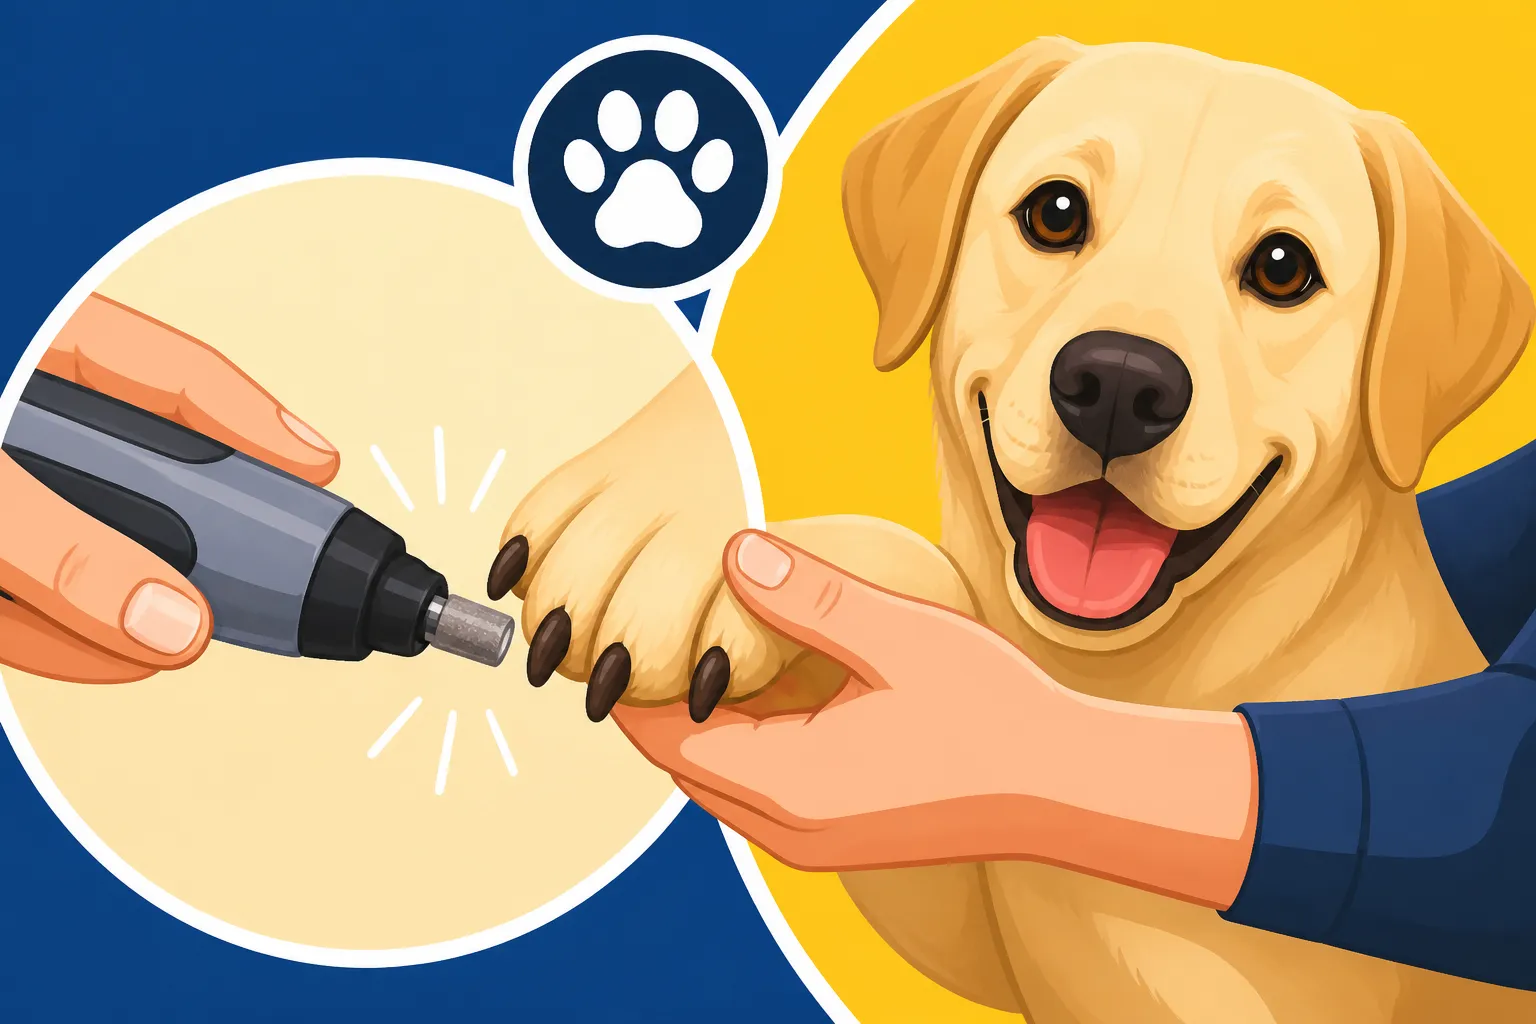
Enter the Dremel. Instead of a sudden, forceful clip, a Dremel uses a rotating abrasive bit to gradually grind down the nail. This gentle approach dramatically reduces the risk of accidentally cutting the quick. Because you're removing small layers at a time, you can often see the quick (which appears as a small, dark dot at the center of the nail as you get closer) before you hit it, allowing for much more control. The grinding action also smooths the nail edges beautifully, preventing those sharp edges that clippers often leave behind, which can snag on carpets or scratch you and your furniture. For a dog that might pull away suddenly, the Dremel offers a degree of forgiveness; a quick pull-back often just means you've lifted the nail from the grinding surface, rather than an abrupt, painful cut. Plus, for dogs that are just generally anxious about the sensation of clippers, the vibration and sound of a Dremel can often be introduced more positively over time.
Choosing the Right Dremel and Supplies for Your Labrador
Before you even think about touching your Labrador's paws with a Dremel, you need to make sure you have the right tools for the job. Not all Dremels are created equal, and a few key accessories will make the process safer and more comfortable for everyone involved.
Types of Dremel Tools and Features to Look For
When selecting a Dremel for your Labrador, consider power, speed, and noise. A corded Dremel typically offers more consistent power, which can be great for thick Labrador nails, but it limits your mobility. Cordless options provide freedom of movement, which can be a huge plus when trying to maneuver around a squirming dog, but you'll need to keep them charged.
- Speed Settings: Look for a Dremel with variable speed settings. Starting on a lower speed is crucial for desensitization and for fine-tuning, while a higher speed can be more efficient for grinding down thicker parts of the nail.
- Noise Levels: This is often the most critical factor for anxious dogs. Some Dremel models are designed to be quieter than others. While no Dremel is truly silent, some produce a lower hum rather than a high-pitched whine. The Dremel Pet model is specifically marketed for pet use and often designed with noise in mind, though many regular Dremel models work perfectly fine. You can often find a good selection of models and read reviews about their noise levels on sites like Amazon or Chewy.
- Ergonomics: Comfort for your hand is important too, especially if you have several nails to get through!
Essential Accessories and Safety Gear
Having the right accessories can make a world of difference in safety and effectiveness.
- Grinding Bits: The most common abrasive for dog nails is a sanding band. These are readily available and come in various grits. A coarser grit will remove material faster, while a finer grit is good for smoothing. Diamond rotary bits are another excellent option; they last much longer than sanding bands and can be very efficient. Ensure you have replacements on hand.
- Nail Guard: Many Dremel models come with a clear plastic nail guard attachment. This guard helps guide the nail into the grinding surface and protects your dog's fur from getting caught. It's not strictly necessary, but it can be very helpful, especially when you're first starting out.
- Styptic Powder: This is non-negotiable. Even with the utmost care, accidents can happen, and having styptic powder (like Kwik Stop) immediately available will quickly stop any bleeding if you accidentally hit the quick.
- Eye Protection: While less common for dogs, dust from the nails can be irritating for human eyes. A pair of safety glasses for yourself is a wise precaution.
- High-Value Treats: We can't stress this enough! Positive reinforcement is key. Have a stash of truly irresistible treats ready. For a food-motivated Labrador, treats are powerful motivators. You might even consider a fresh food option like those from Ollie, which dogs often find incredibly enticing.
Step-by-Step Guide to Dremeling Your Labrador's Nails
Now that you have your tools, let's get down to the actual process. Patience and positive reinforcement are your best friends here. Don't rush it, especially in the beginning.
Desensitization and Positive Association
Your Labrador probably isn't going to love the Dremel from day one, and that's okay. The key is to introduce it gradually and make every step a positive experience. This is all about Desensitizing a Labrador to Nail Trims.
- Introduce the Dremel (Off): Let your Labrador see and sniff the Dremel. Give them a treat. Repeat this several times over a few days. The goal is for them to associate the presence of the Dremel with good things.
- Introduce the Dremel (On, Away from Paw): Turn the Dremel on, but keep it away from your dog. Let them hear the sound. Immediately give them a treat and praise them. Keep these sessions very short – just a few seconds at first. Gradually move the Dremel closer to them (but not touching) while it's running, always rewarding calmness.
- Introduce Vibration (Briefly, on Body): Once they're comfortable with the sound, gently touch the back of your Labrador's paw (or even just their shoulder) with the side of the Dremel (still off) to get them used to the sensation. Then, with the Dremel on at a low speed, briefly touch it to a non-sensitive area, like their hip or a thick part of their paw pad, then immediately give a treat. This helps them get used to the vibration without the nail-grinding aspect.
- Practice Holding Paws: Before you even use the Dremel on a nail, practice holding each of your Labrador's paws, extending the toes, and giving treats. This is foundational. If your Lab struggles with this, focus on mastering paw handling first. You want them to be relaxed when you're handling their feet, without showing any signs of discomfort or Fearful Behavior in a Labrador. Remember that Treats That Motivate a Food-Driven Labrador are your best friend here.
The Dremeling Technique for a Labrador
Once your Labrador is comfortable with the Dremel's presence, sound, and vibration, you can start on the nails.
- Find Your Position: Sit on the floor with your Labrador, or have them lie down comfortably. Some owners find it easier to have their dog rest their paw on their lap.
- Isolate the Nail: Gently but firmly hold your Labrador's paw. Use your thumb and forefinger to isolate the nail you're working on, pushing back any fur from around the nail. This also helps you feel where the quick is relative to the nail tip.
- Grind in Short Bursts: Turn the Dremel on to a low-to-medium speed. Touch the grinding bit to the tip of the nail for only 2-3 seconds at a time. This prevents heat buildup, which can be uncomfortable for your dog.
- Angle Matters: Grind the nail from the bottom up, or at a 45-degree angle, shaping it so it gradually tapers to the quick. You want the nail to be short but still touching the ground slightly when your dog stands naturally. This angle helps achieve a nice, blunt end. For more details on this, you can refer to Trimming Black Nails on a Labrador.
- Look for the Quick: As you grind, you'll see a white-ish outer layer, then a darker ring, and eventually, a small, dark dot in the center. That dark dot is the quick. Stop grinding when you see that dot appear; you're close enough!
- "Paint the Nail" Method: Many people find it effective to use the Dremel like a paintbrush, moving it smoothly over the nail rather than holding it static in one spot. This minimizes heat and creates a smoother finish.
- Reward, Reward, Reward: After each nail (or even after a few seconds of grinding), give generous praise and a high-value treat. Keep sessions short. You might only get one or two nails done in the first few attempts, and that's perfectly fine. The goal is positive association.
Post-Dremeling Care and Maintenance
Once you've finished dremeling (or as many nails as you can get through in one session), a little follow-up care is important.
- Smooth Edges: After grinding, the nails should be smooth. Run your finger over them to check for any rough spots and gently smooth them with the Dremel on a fine-grit setting if needed.
- Praise and Play: Finish with lots of praise, treats, and maybe even a short play session to reinforce the positive experience.
- Regular Schedule: Consistency is key for maintaining short nails. Depending on how fast your Labrador's nails grow and how much natural wear they get from exercise, you might need to Dremel every 1-2 weeks. This aligns with the advice in How Often a Labrador Needs Nails Trimmed.
Common Challenges and Troubleshooting
Even with the best intentions, you might run into some bumps along the road. It’s important to anticipate these and have a plan.
Dealing with a Reluctant or Fearful Labrador
If your Labrador is strongly resisting, barking, or trying to escape, it means you've moved too fast in the desensitization process. Don't punish them; that will only make things worse.
- Go Back to Basics: Revisit the desensitization steps. Spend more time on each stage, making sure your dog is truly comfortable before moving on.
- Shorter, More Frequent Sessions: Instead of trying to do all nails at once, aim for one or two nails in a very short, positive session, several times a week. This reduces the overall stress for your dog.
- Consider a Muzzle: For safety, if your Labrador is prone to nipping when scared, introduce a basket muzzle (positively!) during handling sessions. This is a temporary measure to ensure no one gets hurt, but it should always be paired with continued desensitization to address the root fear.
- Professional Help: If you're truly struggling, don't hesitate to seek help from a professional dog trainer or veterinary behaviorist. They can offer tailored strategies for Nail Trimming a Labrador Who Resists and build confidence. Sometimes, underlying discomfort like Arthritis Signs in a Seven-Year-Old Labrador can make paw handling painful, so rule out medical issues with your vet.
Avoiding the Quick and What to Do If You Nick It
The quick is the Achilles' heel of nail trimming. Even with a Dremel, it's possible to go too far, especially if your dog has very long quicks due to previously overgrown nails.
- Identifying the Quick: As mentioned, watch for the dark dot. If you see it, stop grinding that nail immediately. Also, pay attention to the texture changes in the nail: the quick looks softer, almost fleshy, compared to the hard outer nail.
- If You Nick the Quick: It happens! Don't panic. Apply styptic powder firmly to the bleeding nail. Hold pressure for a minute or two. Comfort your dog, give a treat, and try to end the session on a positive note (maybe just one more quick, successful grind on another nail, or simply end it if they're too stressed). Clean up any blood.
- Long Quicks: If your Labrador's quicks are very long, you won't be able to get their nails as short as you'd like initially. With consistent, frequent Dremeling, the quick can recede over time. By taking off small amounts regularly, the quick will naturally pull back, allowing you to gradually shorten the nails further.
Maintaining Nail Health Between Sessions
Dremeling is not a one-and-done solution; it's part of ongoing Labrador Ear, Paw and Nail Care.
- Consistency is Key: Set a schedule and stick to it. Weekly or bi-weekly Dremeling is often ideal for most Labradors to keep nails at an optimal length.
- Exercise on Rough Surfaces: Regular walks on pavement, concrete, or other abrasive surfaces can help naturally wear down your Labrador's nails between Dremel sessions. However, be mindful of hot pavement in summer.
- Start Early: If you have a First Vet Visit for a Labrador Puppy, introduce paw handling and the Dremel (off) right from puppyhood. The earlier you start, the more accepting your Labrador will be as an adult.
Using a Dremel might seem daunting at first, but with patience, the right tools, and a consistent positive approach, it can transform nail care for your Labrador into a much less stressful and more effective routine. You'll soon find both you and your Lab appreciating the smoother, shorter nails and the confidence that comes from a successful grooming session.
Disclaimer
This article is for general informational purposes only and does not constitute professional advice. Laws, prices and regulations vary by location and change over time. Consult a qualified professional for guidance on your specific situation.