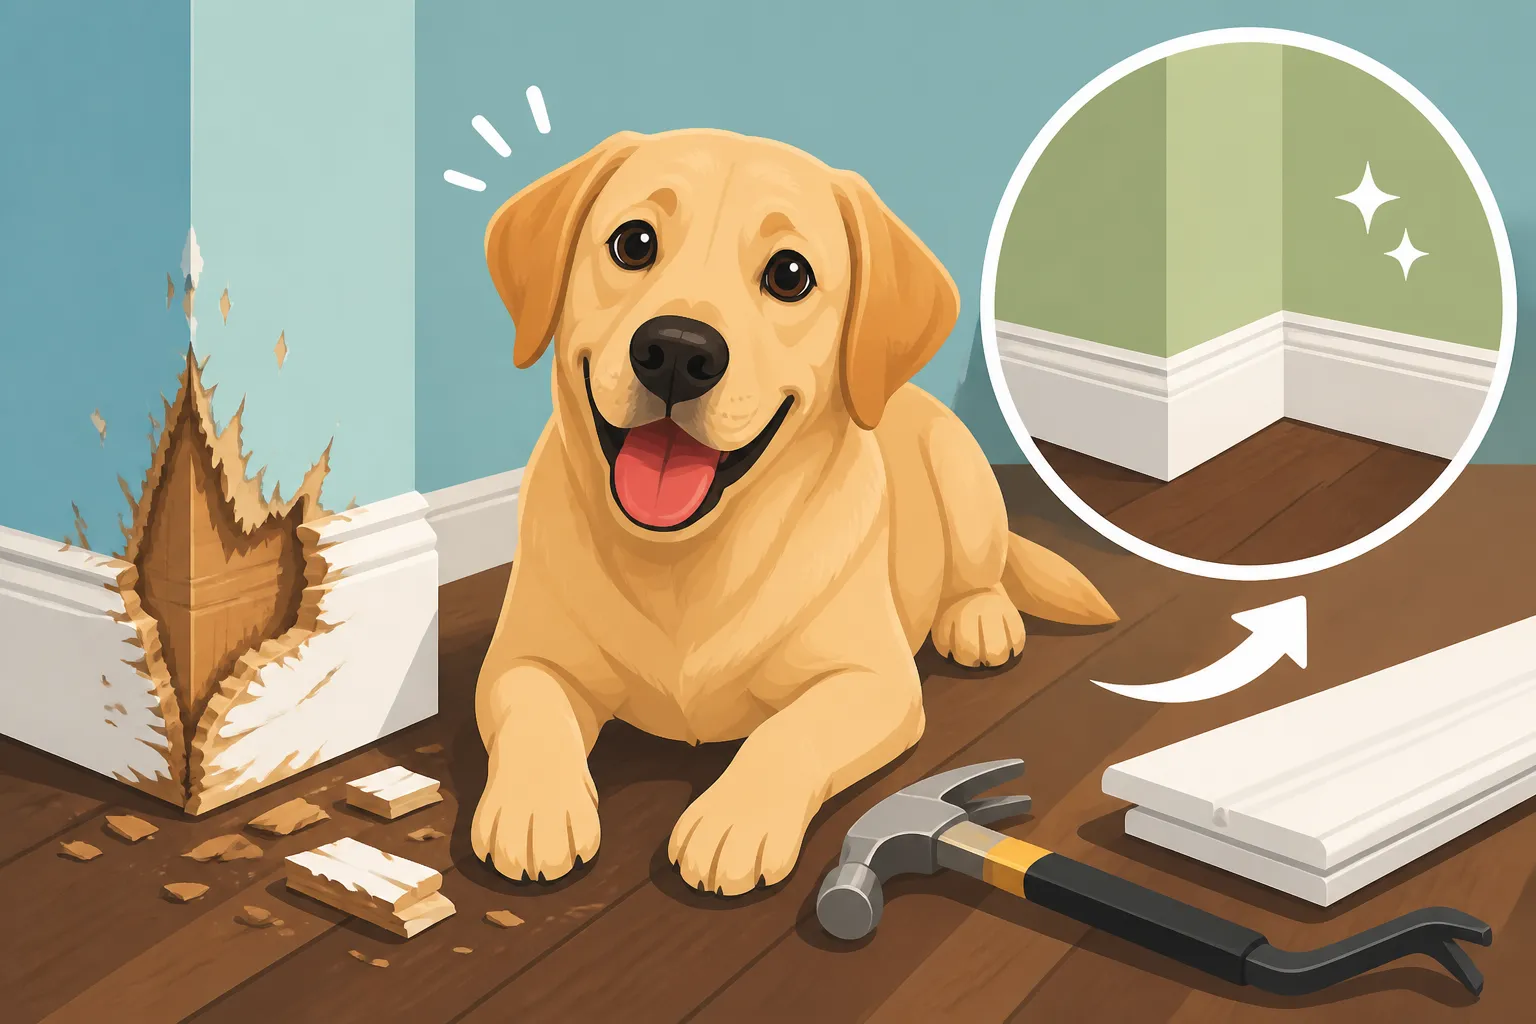
Replacing Baseboards a Labrador Chewed
It's incredibly frustrating, isn't it? You walk into a room, only to discover that your beloved Labrador has turned your beautifully installed baseboards into their latest chew toy. It's not just about the unsightly damage; it's the cost, the effort, and the constant worry about what they might ingest next. This guide will walk you through understanding why your furry friend is targeting your home, how to effectively replace those chewed baseboards, and most importantly, how to prevent this destructive behavior from happening again.
Understanding Why Your Labrador Chews Baseboards
Before you can tackle the repair, it’s crucial to understand the root cause of this destructive chewing. Labradors are known for their strong mouths and their love of carrying things, but when that translates to your home's trim, there's usually an underlying reason. It’s rarely about malice; it's often a sign of unmet needs, boredom, or even a health concern.
Puppy Teething and Exploration
Ah, the joys of puppyhood! Those sharp little needle teeth are adorable until they start exploring every surface with their mouth, and unfortunately, baseboards are often at puppy-eye level and offer an interesting texture. Young Labradors, typically between 3 and 7 months old, experience significant discomfort as their adult teeth emerge. Chewing helps to alleviate this pain and pressure on their gums. Beyond teething, puppies are naturally curious. Their mouths are how they interact with their world, much like human toddlers use their hands. The texture, sound, and even the taste of wood, paint, or plaster can be incredibly enticing to a developing pup.
This phase is a critical window for learning appropriate chewing habits. If not redirected early, a puppy who chews baseboards during teething can develop a habit that continues into adulthood. They might learn that chewing these forbidden items provides a certain satisfaction, whether it's pain relief or simply an engaging activity. It's a tough balance between managing their discomfort and teaching them what's off-limits. For more insights into handling this stage, you might find our article on "Labrador Puppy Mouthing and How to Redirect It" particularly helpful.
Boredom and Anxiety
Labradors are intelligent, high-energy dogs, and if their physical and mental needs aren't adequately met, boredom can quickly set in. A bored Labrador will find ways to entertain themselves, and your baseboards might just be the most accessible and exciting option available. It provides sensory stimulation, a challenge, and a way to burn off pent-up energy. Think about it: a seemingly endless supply of wood to shred, often located in a quiet corner where they can focus. This isn't ideal for your home, but for a dog with nothing else to do, it’s a compelling activity.
Beyond simple boredom, anxiety can also manifest as destructive chewing. Separation anxiety, in particular, can drive a Labrador to chew doorways, window sills, and yes, baseboards, as a coping mechanism when left alone. The act of chewing can be self-soothing, releasing endorphins that help to calm their agitated state. If your Labrador only chews when you're away, or shows other signs like excessive barking, pacing, or house-soiling in your absence, it's worth exploring if "Separation Anxiety in Labrador Retrievers" is a contributing factor. Even general stress from changes in routine, a new environment, or loud noises can trigger this kind of destructive outlet.
Dietary Deficiencies or Pica
While less common, sometimes unusual chewing behaviors can signal a dietary issue or a condition called pica. Pica is the persistent craving and consumption of non-food items. If your Labrador is not getting all the necessary nutrients from their diet, they might instinctively seek out other materials, like wood or plaster, to try and compensate. This is rare with commercially available, complete and balanced dog foods, but it’s still a possibility worth discussing with your veterinarian.
More often, pica can be behavioral rather than nutritional. Dogs with pica might chew and ingest dirt, rocks, fabric, or even parts of your baseboards, sometimes due to boredom, anxiety, or even an underlying medical condition like gastrointestinal issues or anemia. It's not just about the damage to your home; ingesting wood, paint chips, or plaster can be dangerous for your dog, leading to blockages, dental damage, or poisoning. If you notice your Labrador not just chewing but actively eating pieces of the baseboard, a vet visit is essential to rule out medical causes and ensure their safety. Considerations around "Why Labradors Steal and Swallow Things" often touch upon these critical health concerns.
Assessing the Damage and Preparing for Repair
Once you understand why your Labrador might be targeting your baseboards, the next step is to assess the damage and prepare for the necessary repairs. This isn't a job you want to rush, as proper preparation ensures a seamless and durable finish.
Evaluating the Extent of Chewing
Take a close look at the damaged baseboards. Is it just a small section, or has your Labrador gnawed through a significant length? Sometimes, it's a simple cosmetic chew where the paint is gone and the wood is scored, but other times, the baseboard might be severely splintered, deeply gouged, or even chewed completely through. You'll need to determine if the damage is superficial enough for a repair with wood filler and paint, or if entire sections need to be replaced.
Consider the depth and location of the damage. Is it just the top edge, or is the entire profile compromised? Also, check for any structural damage to the wall itself, especially if the baseboard was completely removed by persistent chewing. You might find drywall paper torn or even small indentations in the drywall behind the baseboard. This assessment will dictate your approach: a quick patch-up, a section replacement, or a full room re-trim. Make sure to check multiple rooms, as some Labs have their preferred "chewing stations."
Essential Tools and Materials
Having the right tools on hand will make this job much smoother and safer. You don't need a full carpentry workshop, but a few key items are indispensable.
Table: Essential Tools and Materials for Baseboard Repair
| Item | Purpose | Notes |
|---|---|---|
| Pry bar | Gently remove damaged baseboards | Flat pry bar or trim puller to minimize wall damage |
| Utility knife | Scoring caulk/paint lines | Fresh, sharp blade is key |
| Hammer | Removing nails, light tapping | Claw hammer for nail removal |
| Measuring tape | Accurate measurements for new cuts | Essential for precise cuts and fit |
| Miter saw or handsaw | Cutting new baseboards | Miter box crucial for handsaw accuracy; power miter saw for efficiency |
| Coping saw (optional) | Creating coped joints for inside corners | For a professional, gap-free finish; can use miter saw for 45-degree cuts |
| Caulk gun & caulk | Sealing gaps, finishing | Paintable acrylic latex caulk |
| Wood filler | Filling small holes, imperfections | Sandable and paintable |
| Sandpaper | Smoothing filler and new wood | Medium and fine grit |
| Safety glasses | Eye protection during cutting/nail removal | Non-negotiable safety item |
| Dust mask | Protection from dust and paint fumes | Especially when sanding or cutting MDF |
| New baseboard trim | Replacement material | Match profile and height of existing trim if possible |
| Finish nails/nail gun | Securing new baseboards | 1.5-2 inch finish nails; manual or pneumatic nail gun |
| Paint/primer | Finishing and matching existing color | Always test in an inconspicuous area |
As for materials, matching your existing baseboards is often the cleanest option. If you can, take a small piece of the old baseboard to your local home improvement store to find an exact or very close match in profile and height.
Choosing the Right Baseboard Replacement
When it comes to choosing new baseboards, you'll encounter a few common materials, each with its own pros and cons. Your decision might be influenced by cost, durability, and how much you're hoping to deter future chewing.
- MDF (Medium-Density Fiberboard): This is a very common and cost-effective option. MDF is made from wood fibers compressed with resin, offering a smooth finish that takes paint well. It's generally easy to cut and install. However, MDF is prone to swelling if it gets wet, and unfortunately, it's also quite appealing to chewers, as it splinters easily and can be very satisfying for a Labrador to shred. If your Labrador is a persistent chewer, MDF might not be the most resilient choice without added deterrents.
- Pine/Wood: Solid wood baseboards, often pine or poplar, are a step up in durability and can be stained or painted. They hold up better to moisture than MDF but can still be quite inviting for a determined chewer. Wood offers a classic look and can be repaired more easily with wood filler for minor nicks.
- Vinyl/PVC: Increasingly popular, especially in areas prone to moisture like bathrooms, vinyl or PVC baseboards are highly water-resistant and more durable against impact. They are also less appealing to chew for many dogs because of their different texture and lack of "woodiness." Some brands offer profiles that mimic traditional wood trim. While they are generally more expensive, their resistance to chewing and moisture can make them a worthwhile investment for problem areas.
When selecting, try to match the profile (the decorative shape) and height of your existing baseboards. A slight mismatch can be noticeable and detract from the continuity of your home's trim. If you can't find an exact match, consider replacing the entire run of baseboard in that room for a more uniform look.
A Step-by-Step Guide to Replacing Chewed Baseboards
Now that you've got your tools, materials, and a game plan, it's time to get hands-on. Replacing baseboards isn't overly complicated, but taking your time with each step ensures a clean, professional finish.
Removal of Damaged Sections
First things first, clear the area. Move furniture, put down drop cloths, and make sure your Labrador is safely out of the way – this is not a spectator sport for them! Use your utility knife to carefully score the caulk line along the top edge of the baseboard where it meets the wall, and any paint lines along the bottom edge where it meets the floor. This prevents tearing the drywall paper or lifting floor finishes when you remove the old trim.
Next, using a pry bar or a dedicated trim puller, gently work the damaged baseboard away from the wall. Start at an end or a corner if possible, or near a section of severe damage where the board is already loose. Work slowly and methodically, inserting the pry bar behind the baseboard and carefully levering it forward. If you're replacing a small section, you'll need to make clean, straight cuts on either side of the damage. Use a handsaw or miter saw to cut through the baseboard, ensuring your cuts are perfectly vertical. Be careful not to damage the drywall behind the baseboard more than necessary. Once the nails are exposed, use the claw of your hammer or pliers to pull them straight out, or cut them with side cutters if they're too embedded.
Preparing the Wall and New Baseboard
With the old baseboard removed, you'll likely see some residual caulk, paint, or even minor damage to the drywall. Take this opportunity to clean and prepare the surface. Scrape off any old caulk or paint using a putty knife. If there are any holes or gouges in the drywall, fill them with spackle or joint compound, then sand smooth once dry. A smooth, clean surface is essential for the new baseboard to sit flush against the wall.
Measure the length of the section you need to replace precisely. Measure twice, cut once! For inside corners, you have two options: a simple 45-degree miter cut where the two pieces meet at a 90-degree angle, or a more professional "coped" joint. A coped joint involves cutting the first piece of baseboard square to the wall, then using a coping saw to cut the profile of the adjacent piece to fit perfectly into the first. This creates a much tighter seam that is less prone to opening up with changes in temperature and humidity. While more advanced, learning to cope corners is a skill that truly elevates trim work. You can find many tutorials online for "how to cope baseboard corners."
Installation and Finishing Touches
With your new baseboard cut to size and corners prepared, it’s time to attach it to the wall. Position the new baseboard piece firmly against the wall and floor. Use finish nails (1.5 to 2 inches long) to secure it, aiming to nail into the wall studs if possible for maximum hold. Studs are typically 16 or 24 inches apart on center. If you're unsure where your studs are, a stud finder can be a huge help. Place nails approximately every 16 inches along the length of the baseboard, and definitely one near each end and at any seam. If you have a pneumatic nail gun, this step is quick and easy. If you're hand-nailing, use a nail set to recess the nail heads just below the surface of the wood.
Once all sections are securely in place, the finishing work begins. Fill any nail holes with wood filler. Apply a thin, even bead of paintable caulk along the top edge where the baseboard meets the wall, and along any mitered or coped seams. Smooth the caulk with a wet finger or a caulk tool for a clean line. Allow the wood filler and caulk to dry completely according to manufacturer instructions. Finally, sand any rough patches from the wood filler and prime the new baseboard. Once the primer is dry, apply two coats of paint, matching the existing trim color as closely as possible. This meticulous finish work will make your repair virtually invisible, restoring your home's appearance.
Long-Term Strategies to Prevent Future Chewing
Replacing baseboards is one thing, but preventing your Labrador from turning them into a chew toy again is paramount. This requires a multi-faceted approach, addressing their physical, mental, and behavioral needs.
Environmental Enrichment and Exercise
A tired Labrador is a good Labrador, and a mentally stimulated Labrador is often a less destructive one. Ensuring your dog gets enough physical exercise is critical. This isn't just a quick walk around the block; Labradors need robust activity like fetch, swimming, or long hikes. Depending on their age and health, aiming for at least 60-90 minutes of vigorous exercise daily can make a huge difference. You might find guidance on "Exercise a Labrador Needs Each Day" invaluable for tailoring a routine.
Beyond physical exertion, mental enrichment is key. Labradors are smart and love to work. Incorporate puzzle toys, treat-dispensing toys, and KONGs stuffed with peanut butter or wet food (and frozen for extra challenge). Scent work, where they use their incredible noses to find hidden treats, is also a fantastic mental workout. Rotate their toys regularly to keep things fresh and exciting. If they have engaging, appropriate things to chew and "work" on, they'll be less inclined to seek out your baseboards. For more ideas, explore "Mental Work for a Bored Labrador". Online retailers like Chewy offer a fantastic selection of durable enrichment toys designed to stand up to a Labrador's powerful jaws.
Taste Deterrents and Protective Barriers
Sometimes, you need a little extra help to make your baseboards unappealing. There are several taste deterrents available that are safe for dogs but create a bitter taste. Sprays like Grannick's Bitter Apple or Fooey! can be applied directly to baseboards. Make sure to choose a product that won't stain or damage your paint or wood. The key with these is consistency – reapply regularly, especially initially, until your Labrador associates the baseboard with an unpleasant taste.
For persistent chewers, or during critical phases like puppy teething, physical barriers can be highly effective. Consider using temporary barriers like puppy pens or baby gates to restrict access to problem areas when you can't directly supervise. Clear, heavy-duty vinyl corner guards or even strips of plexiglass can be installed over baseboards in high-target areas. While not invisible, they provide a durable, chew-proof layer that removes the "satisfaction" of chewing wood. Remember that a teething puppy needs plenty of appropriate chew items, so ensure your "Chew Toys That Survive a Labrador" are always available and more appealing than your trim.
Training and Management Strategies
Consistent training and smart management are the cornerstones of preventing destructive chewing. Start training early, reinforcing positive chewing habits with praise and high-value treats. Whenever your Labrador chooses an appropriate chew toy, reward them profusely. If you catch them chewing a baseboard, calmly interrupt the behavior with a verbal cue like "leave it," redirect them to an approved chew toy, and then praise them when they engage with it. Avoid harsh punishments, as these can create fear and anxiety, potentially exacerbating the problem.
Supervision is vital, especially with puppies or new dogs. If you can't supervise directly, crate training can be an invaluable tool. A properly introduced crate is a safe, den-like space where your Labrador can relax without the opportunity to get into trouble. Ensure the crate is appropriately sized and comfortable. Learning "Crate Training a Labrador Puppy" can establish this routine early. When leaving your Labrador alone, even for short periods, provide them with a stuffed KONG or a puzzle toy to keep them occupied. For dogs who might be showing signs of separation anxiety, consult with a professional dog trainer or veterinary behaviorist. They can help develop a tailored plan to address the anxiety, which in turn will reduce destructive behaviors. And should your Labrador ever ingest something they shouldn't, knowing you have a solid pet insurance plan from providers like Healthy Paws can offer immense peace of mind when facing emergency vet bills. If dietary factors are suspected for chewing or other behavioral issues, exploring high-quality food options like Ollie, which provides customized meal plans, could be part of a comprehensive solution.
Disclaimer
This article is for general informational purposes only and does not constitute professional advice. Laws, prices and regulations vary by location and change over time. Consult a qualified professional for guidance on your specific situation.