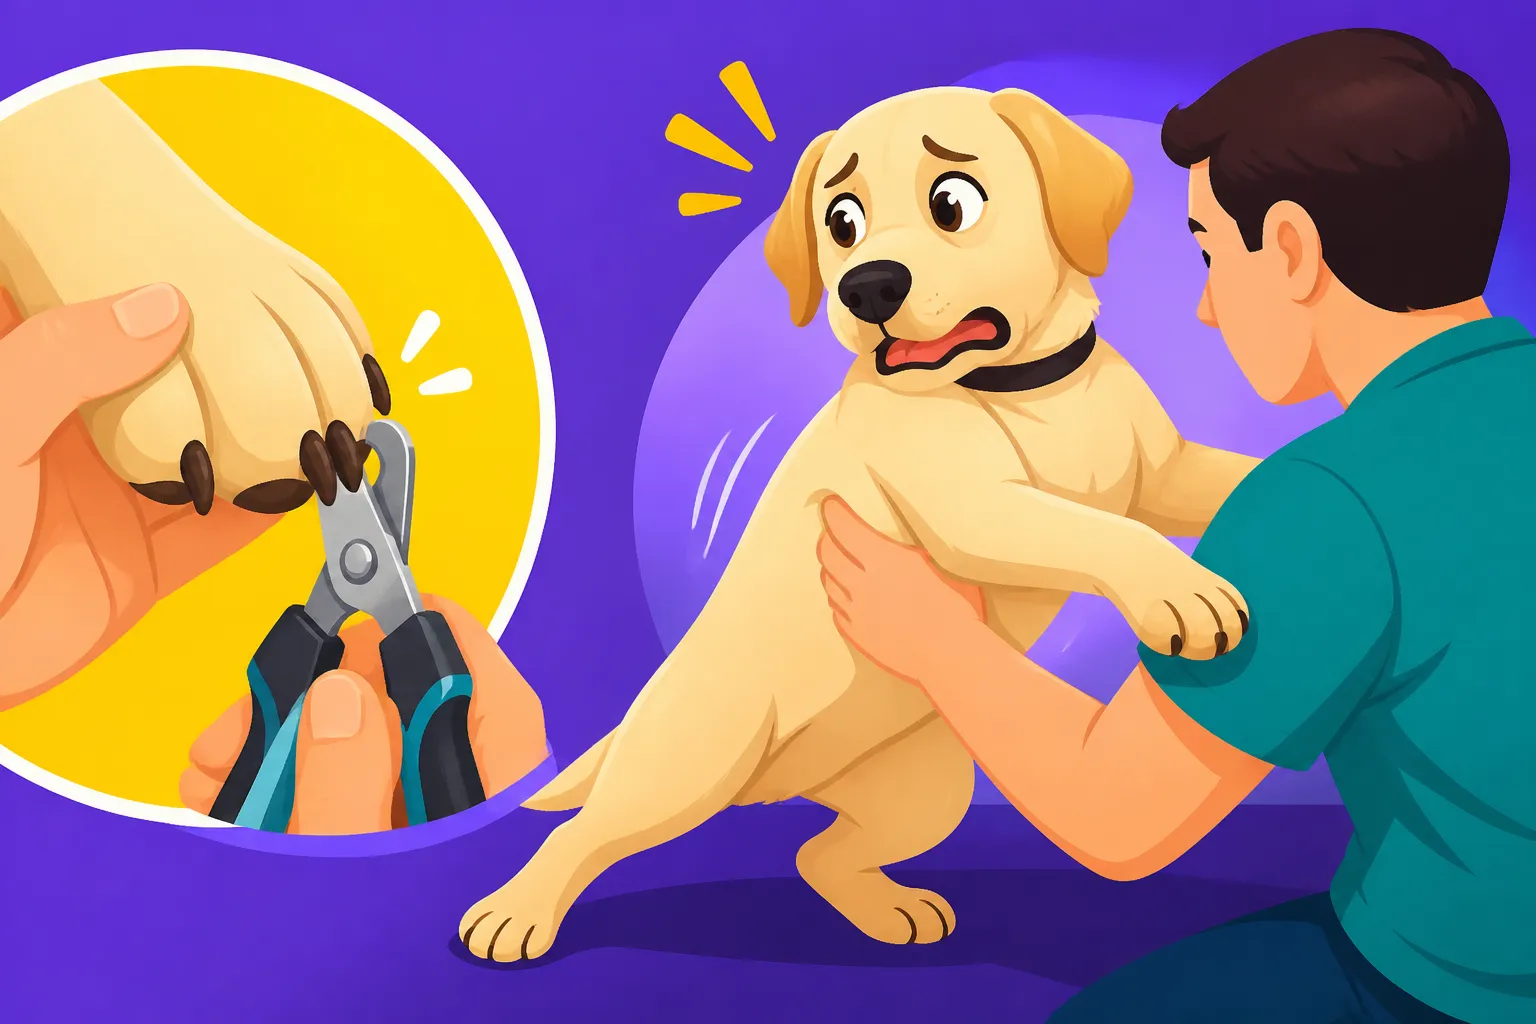
Nail Trimming a Labrador Who Resists
It's incredibly frustrating when your sweet, goofy Labrador transforms into a squirming, terrified creature at the mere sight of nail clippers. Many Labrador owners know this struggle all too well; what should be a simple routine care task often turns into a wrestling match, leaving both you and your beloved dog stressed and anxious. This guide is here to walk you through why your Labrador might be resisting, how to choose the right tools, and most importantly, how to implement gentle, positive reinforcement techniques to make nail trimming a calm, even enjoyable, experience for both of you.
Why Labradors Resist Nail Trims in the First Place
Let's be real, no dog loves having their nails trimmed, but for some Labradors, it's a deeply traumatic event. It's not usually about them being "stubborn" or "naughty," but rather a genuine fear or discomfort. Understanding the root cause of this resistance is the first step toward overcoming it.
Understanding Their Fear and Discomfort
Many Labradors develop an aversion to nail trimming due to past negative experiences. Perhaps as a puppy, they were accidentally "quicked" – where the sensitive, blood-rich quick inside the nail was cut. This is incredibly painful and can lead to a lasting fear of clippers. Imagine someone repeatedly hurting your fingernail beds; you'd probably be pretty hesitant to let them near your hands too! For some dogs, even the sensation of their paws being held is unpleasant, especially if they haven't been properly desensitized to paw handling from a young age. Their paws are incredibly sensitive, filled with nerve endings, and when you combine that with the intimidating sight and sound of clippers, it's a recipe for anxiety.
Another factor can be the general feeling of being restrained. Labradors are often large, powerful dogs, and being held still against their will can be quite distressing for them. If every nail trim has involved a struggle, they'll anticipate that struggle the moment the tools come out. It becomes a self-fulfilling prophecy of fear and resistance, making it harder and harder to get the job done without a full-blown meltdown.
The Anatomy of a Labrador's Nail
To trim nails effectively and safely, it's crucial to understand a bit about dog nail anatomy. Each nail has an outer shell and an inner core called the "quick." The quick contains blood vessels and nerves, and cutting into it causes pain and bleeding. In dogs with clear or white nails, the quick is often visible as a pinkish area, making it easier to avoid. However, many Labradors have black nails, which completely obscure the quick. This adds another layer of anxiety for owners, as it's much harder to tell where the quick begins, increasing the risk of accidental injury.
When the quick is regularly cut, it recedes over time. Conversely, if nails are left untrimmed, the quick grows longer with the nail, making it even harder to trim them short without causing pain. This creates a vicious cycle where long nails make trimming more difficult and painful, which in turn leads to less frequent trimming, and even longer quicks. This is why consistent, careful trimming, even if just taking off tiny bits, is so important to gradually encourage the quick to recede and make future trims easier.
Essential Tools for a Successful Labrador Nail Trim
Having the right tools can make a huge difference in the comfort level of both you and your Labrador. Trying to use dull, incorrect, or uncomfortable clippers will only exacerbate their fear and resistance. Investing in quality tools designed for large, strong nails like a Labrador's is a worthwhile endeavor.
Choosing the Right Nail Trimmers
There are generally two main types of clippers: scissor-style and guillotine-style. For a Labrador, who often have thick, strong nails, scissor-style clippers are often preferred as they provide more leverage and control. Look for a heavy-duty, sharp pair designed for large breeds. Dull clippers will crush the nail rather than cut cleanly, which can be painful and cause the nail to split. Brands like Safari or Miller's Forge are often recommended by professionals for their durability and sharpness.
When you're shopping, consider the ergonomics of the clippers. Can you hold them comfortably and securely, even when your Labrador is wiggling? A good grip is essential for precision and safety. Remember that sharp clippers are safer than dull ones, as they make a quick, clean cut, reducing the chance of discomfort. You might find a good selection of various types of clippers on Chewy or Amazon, allowing you to compare features and read reviews from other large dog owners.
The Magic of a Dremel or Grinder
For many Labradors who resist traditional clippers, a Dremel or a similar rotary nail grinder can be a game-changer. The Dremel sands down the nail instead of cutting it, eliminating the sudden "snip" sensation that some dogs find terrifying. It also allows for much more gradual removal of the nail, reducing the risk of hitting the quick, especially with those tricky black nails. The result is a smooth, rounded nail that won't scratch you or your floors as much.
Introducing a Dremel requires its own desensitization process, as the vibration and sound can be alarming. However, many dogs, once accustomed to it, tolerate grinding much better than clipping. Battery-operated, quieter models are often best to start with. The key is slow introduction, lots of praise, and high-value treats. With a Dremel, you can also avoid the dreaded "hook" at the end of the nail that often remains after clipping, achieving a truly short and functional nail length.
Emergency Supplies
No matter how careful you are, accidents can happen, especially when working with a resistant dog or with black nails. Always have styptic powder or a styptic pencil on hand before you start trimming. This product quickly stops bleeding if you accidentally nick the quick. If you don't have styptic powder, cornstarch can work in a pinch, though it's less effective.
Beyond styptic powder, have an abundance of high-value treats ready. These are your most important tool for positive reinforcement. Think small pieces of cooked chicken, cheese, or even small portions of a fresh food like Ollie. And don't forget to have a calm, positive attitude yourself. Your Labrador can pick up on your stress, so taking a deep breath and remaining patient is paramount, even if things don't go perfectly.
| Tool Type | Pros | Cons | Best For |
|---|---|---|---|
| Scissor Clippers | Strong leverage, quick cuts | Can be intimidating, higher quick risk | Confident owners, dogs tolerant of clipping |
| Guillotine Clippers | Good for smaller/medium nails, easy to use | Less leverage for thick nails, can crush | Smaller Labs, less thick nails |
| Dremel/Grinder | Gradual removal, smooth finish, lower quick risk | Noise/vibration can be scary, takes longer | Anxious dogs, black nails, owners with patience |
| Styptic Powder | Stops bleeding quickly | Can sting, only for emergencies | Essential for all nail trimming sessions |
| High-Value Treats | Excellent for positive reinforcement | Can add calories, need to manage portions | Indispensable for desensitization & reward |
Desensitization and Positive Reinforcement Techniques
The cornerstone of successful nail trimming with a resistant Labrador isn't force; it's patience, desensitization, and positive reinforcement. You need to change your dog's emotional association with the process from fear to something neutral or even positive. This takes time and consistency, but it's absolutely worth the effort.
Starting Early: Puppy Foundations
The ideal scenario is to start desensitizing your Labrador to paw handling and nail trims when they are a puppy. Even before you need to trim their nails, regularly touch their paws, gently squeeze their toes, and play with their nails. Pair this handling with praise and high-value treats. Just a few seconds at a time is enough initially. You can then introduce the clippers or Dremel into the environment, letting your puppy sniff them, placing them on the floor near them, and even touching the blunt end of the clippers to their paw, always followed by a treat. Building a positive foundation early makes a world of difference as they grow up. Labrador Puppy Health in the First Year discusses many early care routines.
The goal isn't to get a full trim done in these early sessions, but simply to create positive associations. You want your puppy to think, "Oh, clippers! That means yummy treats and gentle pats!" This approach helps prevent the deep-seated fears that often develop later. If your puppy nips during this process, remain calm. Redirect them to a chew toy and continue the gentle handling only when they are relaxed. Labrador Puppy Mouthing and How to Redirect It offers more tips on handling puppy nipping.
Gradual Exposure for Resistant Adults
If you have an adult Labrador who already hates nail trims, you'll need a more structured desensitization plan. This is where patience is truly a virtue. Start by simply showing them the clippers or Dremel from a distance, then immediately reward them. Don't even try to touch them with the tool yet. Repeat this many times over several days, slowly decreasing the distance, always pairing the sight of the tool with a fantastic treat. The goal is for them to see the tool and think, "Yes! Treats are coming!"
Once they are comfortable with the tool being near them, you can start touching it to their paw, again, without actually trimming. Just touch the clipper to a nail, then give a treat. If using a Dremel, turn it on away from them, let them hear the sound, then give a treat. Gradually move the turned-on Dremel closer to their paw, constantly rewarding their calm behavior. Only when they are completely relaxed with the sound and feel of the tool against their nail should you attempt to take off the tiniest sliver of a nail, followed by an immediate jackpot of treats. Remember, short, positive sessions are better than long, stressful ones. Desensitizing a Labrador to Nail Trims provides a more detailed roadmap.
Making It a Positive Experience
Every single interaction with the nail trimming tools should be positive. This means generous use of high-value treats – something your Labrador adores and doesn't get at any other time. Peanut butter on a lick mat, a frozen Kong, or pieces of cooked meat can be excellent distractions and rewards. Use verbal praise ("Good dog!"), gentle strokes, and a calm, happy tone of voice. If your Labrador starts to show signs of stress (lip-licking, yawning, turning away, pulling their paw back), stop immediately. Push them only to the point where they are still comfortable.
It's also helpful to choose a time when your Labrador is naturally relaxed, perhaps after a long walk or a vigorous play session. Avoid trying to trim nails when they are full of energy or already stressed. Enlisting the help of another person can also be beneficial, with one person gently distracting and rewarding your dog while the other handles the trimming. Think of it as a team effort to make the experience as pleasant as possible for your furry friend. The more positive experiences your Labrador has, the faster their fear will diminish.
Step-by-Step Guide to Trimming a Resistant Labrador's Nails
Now that you've got your tools and a plan for desensitization, let's talk about the actual trimming process. Even with a resistant Labrador, breaking it down into small, manageable steps can make it feel less overwhelming for everyone involved.
Setting the Scene for Success
First things first: pick the right environment. Choose a quiet, well-lit space where your Labrador feels secure and comfortable. A non-slip surface like a rug or mat can help them feel more stable. If your dog is smaller or you have a good technique, you might even consider doing it on your lap or on a grooming table if they're comfortable with it. Some owners find that having their Labrador lie down on their side, curled up, makes them more relaxed.
Ensure you have all your supplies within easy reach: clippers/Dremel, styptic powder, and plenty of those amazing high-value treats. Have a helper if possible – one person can focus on holding and distracting the dog, while the other does the trimming. Calm energy from you is contagious; if you're stressed, your Labrador will pick up on it instantly. Take a few deep breaths and approach the task with a patient, reassuring demeanor.
The Actual Trimming Process
Once your Labrador is calm and in position, pick up a paw. Gently hold one toe and identify the nail. If your Labrador has clear nails, you'll see the pink quick. If they have black nails, you'll need to be extra cautious. Start by only taking off the very tip, a tiny bit at a time. Think of it as shaving off small layers rather than trying to take a big chunk. The idea is to make multiple small cuts or grinds until you see a small black or gray dot appear in the center of the trimmed nail – this is the very beginning of the quick, telling you to stop. Trimming Black Nails on a Labrador offers more specific visual cues for these challenging nails.
For clippers, hold the clipper perpendicular to the nail and snip quickly and cleanly. For a Dremel, gently touch the rotating drum to the underside of the nail and grind upwards, moving swiftly. Don't press too hard or hold it in one spot for too long, as this can generate heat and cause discomfort. After each nail, or even every few nails if your dog is doing well, offer a treat and praise. Keep the sessions short – sometimes only a few nails, or even just one, is enough for a highly resistant dog. The goal is always to end on a positive note, even if not all nails are done. Consistency, even with small progress, is key.
Dealing with Accidental "Quicking"
It's every dog owner's nightmare: accidentally cutting the quick. Despite all precautions, it can happen, especially with black nails. If you do nick the quick, don't panic. Your Labrador might yelp or pull away, and there will be blood. Immediately apply styptic powder to the bleeding nail and apply gentle pressure. The powder will typically stop the bleeding quickly. Reassure your dog calmly, offer a treat, and if they're too upset, end the session there.
While it's upsetting, try not to make a huge fuss. A calm reaction from you helps prevent your dog from internalizing more fear. Clean up any blood, and remember that this is a learning experience. You now know exactly where not to cut on that particular nail. The next time, approach with even more caution. Remember, sometimes the resistance your Labrador shows is because they've experienced this pain before, making your gentle, careful approach all the more important to rebuild their trust.
Alternative Approaches and Professional Help
Sometimes, despite your best efforts, your Labrador's resistance remains too strong for you to handle alone. That's perfectly normal, and there's no shame in seeking external help or trying different techniques to make the process easier.
When to Seek Professional Grooming
If your Labrador becomes aggressive, severely stressed, or you simply cannot get through to them without a major battle, it's time to call in a professional groomer or your veterinarian. Professional groomers have experience with difficult dogs and often have specialized tools and techniques (like high-velocity dryers that can double as a powerful distraction noise) to get the job done efficiently and safely. They can also use methods like positive restraint without causing further trauma.
Your vet clinic can also be a good option, especially if your Labrador needs sedation for severe fear or if there's an underlying medical reason for their paw sensitivity, such as Labrador Arthritis in Middle Age or an injury. They can provide a safe, controlled environment and ensure the nails are trimmed without causing undue stress or pain. Sometimes, just having a professional handle it a few times can help break the negative cycle, allowing you to resume maintenance at home with renewed confidence.
Using Distraction Techniques
Distraction can be your best friend when dealing with a resistant Labrador. One popular method is a "lick mat" smeared with peanut butter (ensure it's xylitol-free!), cream cheese, or wet dog food. While your Labrador is happily occupied licking, you can often trim a few nails without them even noticing. Another effective distraction is having a helper continuously feed them high-value treats (like small bits of cheese or cooked chicken) while you work.
Some owners find success by doing nail trims outside where their Labrador is naturally more stimulated and less focused on the task at hand. Others use slow feeder bowls with their regular meal, making the trim coincide with mealtime. The key is to find something your Labrador loves so much that it completely diverts their attention from their paws and the scary clippers. This turns a potentially stressful situation into a pleasant one where they get a reward just for tolerating the process.
The Benefits of Regular Paw Handling
Beyond formal nail trimming sessions, simply incorporating regular, gentle paw handling into your daily routine can significantly reduce resistance over time. Touch your Labrador's paws when they're relaxed, while you're watching TV, or during cuddle time. Gently rub their pads, stroke their toes, and briefly hold each paw. Pair this with soft praise and small rewards. This isn't about trimming; it's purely about building positive associations and making paw contact a non-event.
This consistent, low-pressure interaction builds trust and desensitizes their paws, so that when it is time for a trim, the act of holding their paw isn't the first source of anxiety. It also allows you to regularly check their paws for any issues like cuts, foreign objects, or skin irritations, contributing to their overall health. Labrador Ear, Paw and Nail Care emphasizes this holistic approach to paw health. The more comfortable your Labrador is with you touching their paws in general, the easier all aspects of paw care, including nail trimming, will become.
Disclaimer
This article is for general informational purposes only and does not constitute professional advice. Laws, prices and regulations vary by location and change over time. Consult a qualified professional for guidance on your specific situation.