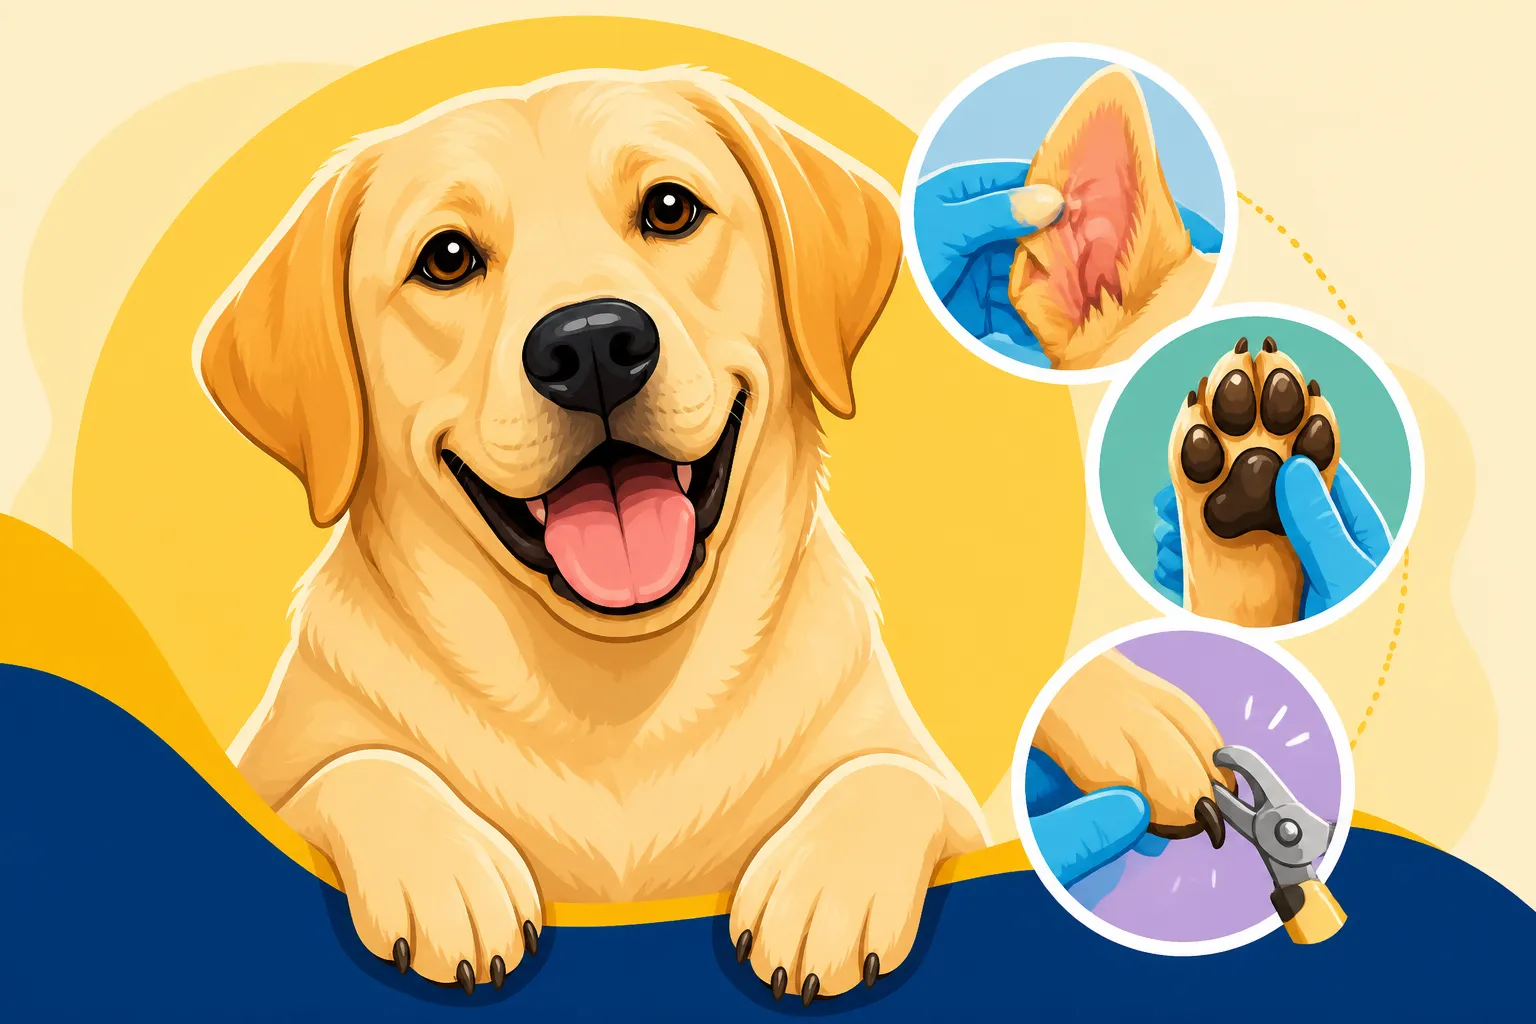
Labrador Ear, Paw and Nail Care
Anyone who shares their life with a Labrador knows the sheer joy and boundless energy they bring. But let's be honest, keeping up with their routine care, especially those often-overlooked areas like their ears, paws, and nails, can feel like a never-ending battle. From persistent ear infections after a glorious swim to cracked paw pads from an adventurous hike, or the distinct 'click-click-click' of overdue nails on your hardwood floors, these common frustrations are real. This comprehensive guide is here to walk you through everything you need to know about keeping these crucial parts of your Labrador healthy and happy, demystifying the care process, and making it a positive experience for both of you.
Understanding Your Labrador's Ears: Why They Need Special Attention
Labradors are wonderful water dogs, and that love for swimming, coupled with their unique ear anatomy, makes their ears a prime location for problems. It’s not just about looking clean; it’s about preventing pain, infection, and expensive vet visits. Many owners feel like they're constantly battling ear gunk or a head shake, and it's easy to get frustrated when you feel like you're doing everything right. But understanding the 'why' behind their ear troubles is the first step to successful care.
The Anatomy of a Labrador Ear
Take a moment to peek inside your Labrador's ear (if they'll let you!). Unlike human ears that are fairly open, a Labrador's ear canal takes a sharp turn, forming an 'L' shape. This deep, vertical canal then turns horizontally before reaching the eardrum. On top of that, their floppy, heavy ear flaps cover the opening, limiting airflow. It's like a warm, moist cave – the perfect breeding ground for bacteria and yeast, especially when water or debris gets trapped inside. This unique structure is a significant factor in why Labradors are so prone to ear problems; it's simply not designed for quick drying or ventilation.
Because of this structure, things like wax, dirt, and moisture tend to accumulate deep within the ear canal rather than draining out naturally. If your Labrador loves to swim, or even just enjoys a good roll in the dirt, all that extra moisture and debris has nowhere to go. This creates a perpetually damp environment, which is exactly what microscopic invaders thrive in. Think of it as a rainforest in miniature, right inside your dog's head. It’s a design flaw that we, as responsible owners, have to actively work around.
Common Ear Problems in Labradors
The most frequent culprit we see in Labs is otitis externa, which is just a fancy way of saying inflammation of the external ear canal. This can be caused by bacteria, yeast, ear mites, or even allergies. You might notice your dog shaking their head, scratching their ears, or holding one ear at a strange angle. Sometimes, there's a strong, unpleasant odor coming from the ear, or you might see a discharge that's brown, yellow, or black. It's a nasty business, and it's painful for your dog, often leading to them being withdrawn or snappy if you try to touch their head.
Allergies are another huge factor in Labrador Ear and Skin Disease. Just like people, dogs can suffer from environmental allergies (pollen, dust mites) or food allergies. These allergies often manifest as itchy skin and, you guessed it, itchy ears. A dog with allergies might have chronically red, inflamed ears, even without a full-blown infection. They're constantly scratching, which only makes the inflammation worse and opens the door for secondary bacterial or yeast infections. It's a vicious cycle that requires a multi-pronged approach to manage.
When to See the Vet for Ear Issues
It’s tempting to try and tackle every little ear issue at home, especially if you're a seasoned dog owner. However, if you notice any persistent scratching, head shaking, redness, swelling, discharge, or a foul odor, it’s always best to consult your veterinarian. These symptoms can quickly escalate, and what starts as a minor irritation can turn into a deep-seated infection that's much harder and more expensive to treat. Never assume it will just "go away" on its own, because with Labrador ears, it rarely does.
Your vet can accurately diagnose the underlying cause of the problem using an otoscope to look deep into the ear canal and often by taking a swab for microscopic examination. They can determine if it's yeast, bacteria, mites, or even a foreign object, and prescribe the correct medication. Using the wrong treatment, like an over-the-counter cleaner when there's an active infection, can actually make things worse or mask the true problem. For instance, if you suspect your dog has an ear infection, your vet might check to ensure the eardrum is intact before recommending any drops. Putting certain medications into an ear with a ruptured eardrum can cause serious problems, even deafness. This is why a professional diagnosis is non-negotiable when symptoms arise. If you're wondering When a Labrador Ear Needs a Vet Not a Wipe, the answer is almost always when you see any of the above symptoms.
A Step-by-Step Guide to Cleaning Your Labrador's Ears
Routine ear cleaning is your best defense against infections, especially for a water-loving Labrador. It's about proactive care, not just reactive treatment. Many dogs aren't thrilled about ear cleaning, so approaching it calmly and consistently is key. With a little patience and the right technique, you can make this a stress-free part of your dog's routine.
Gathering Your Ear Cleaning Supplies
Before you start, make sure you have everything you need laid out. This will help the process go smoothly and quickly. You'll need a good quality, vet-approved ear cleaning solution designed for dogs. Avoid anything with alcohol, which can be irritating, especially if the ear is already inflamed. Cotton balls or gauze pads are ideal for wiping; steer clear of cotton swabs, as they can push debris further into the ear canal and potentially damage the eardrum. Some folks also like to have a towel handy for any splashes – because let's face it, Labradors love to shake!
You can find excellent ear cleaning solutions and cotton rounds from online retailers like Chewy or Amazon. Look for products specifically formulated to be gentle yet effective at breaking down wax and dirt. Having treats on hand is also crucial for positive reinforcement. This isn't just about cleaning, it's about building a positive association with the experience. If your dog associates ear cleaning with yummy rewards, they'll be much more cooperative in the future.
The Gentle Art of Ear Cleaning
First, find a comfortable, well-lit spot. If your Labrador is a wriggler, you might need a second person to help hold them gently. Start by holding the ear flap up to expose the ear canal. Carefully squirt the ear cleaning solution directly into the ear canal until it's full. Don't be shy – you need enough solution to flush things out. Then, gently massage the base of the ear for about 20-30 seconds. You should hear a squishy sound as the solution works its way deep inside. This massage helps to break up wax and debris.
After massaging, let your Labrador shake their head. This is usually the messy part, so have that towel ready! The head shake helps dislodge the loosened gunk. Once they've shaken, use a cotton ball or gauze pad to gently wipe away any visible discharge, wax, or dirt from the inner surface of the ear flap and the uppermost part of the ear canal. Never go deeper than your finger can comfortably reach. Repeat this process for the other ear. Remember, the goal isn't to get the ear bone-dry; a little moisture from the cleaner is fine, as long as it's not standing water from a bath or swim. After they've had a dip in the lake, it's good practice to get some of that water out, so Drying a Labrador's Ears After the Lake is an excellent preventative step.
Maintaining Ear Health Between Cleanings
Consistency is key to keeping those Labrador ears healthy. For most Labradors, a thorough ear cleaning every 1-2 weeks is sufficient, especially if they swim regularly. If your dog isn't much of a swimmer or prone to issues, you might stretch it to once a month. However, if your Labrador is prone to How Often Labradors Get Otitis Externa, you might need to clean more frequently, as advised by your vet. Always inspect their ears daily for any signs of redness, odor, or discharge, particularly after a swim or a romp in dirty environments.
Beyond active cleaning, promoting good ear hygiene also means managing other factors. If your Labrador has known allergies, working with your vet to control those allergies through diet, medication, or environmental changes can significantly reduce ear inflammation. Consider an allergy-friendly diet, perhaps with a fresh food brand like Ollie if your vet approves, as some dogs with sensitivities respond well to less processed ingredients. Also, ensure your dog's diet is balanced, as nutritional deficiencies can sometimes impact skin and ear health. Keeping their ears dry after water exposure is paramount. A quick wipe with a clean cotton ball or a special ear dryer solution after every swim can make a world of difference.
| Ear Care Action | Frequency (General Guide) | Purpose | Key Tool |
|---|---|---|---|
| Daily Visual Check | Daily | Spot early signs of irritation or discharge | Your eyes |
| Post-Swim Drying | After every water exposure | Remove moisture to prevent infection | Cotton ball, ear drying solution |
| Routine Cleaning | Every 1-4 weeks (as needed) | Flush out wax and debris, prevent buildup | Vet-approved cleaner, cotton balls |
| Vet Check (Symptoms Present) | Immediately | Diagnose and treat infections, rule out serious issues | Veterinarian's expertise |
Labrador Paws: More Than Just Four Feet
Your Labrador's paws are their primary interface with the world. They carry them through long walks, energetic runs, playful swims, and even just around the house. Yet, we often overlook them until a problem arises. Healthy paws are essential for your dog's comfort, mobility, and overall well-being. Neglecting them can lead to pain, lameness, and secondary infections, turning their adventurous spirit into a hobbled reluctance.
The Importance of Paw Pad Health
A Labrador's paw pads are incredibly tough, designed to withstand a lot of wear and tear. They act as shock absorbers, protecting bones and joints from impact, and provide traction on various surfaces. However, despite their ruggedness, they are still susceptible to injury, dryness, and cracking. Imagine walking barefoot on rough terrain all day – that's what your dog's paws experience. When pads become dry or cracked, they can be incredibly painful, making every step a challenge. This discomfort can impact their willingness to exercise, their mood, and even their ability to get around the house on slippery floors.
Beyond the pads themselves, the spaces between the toes are also important. These areas can trap dirt, burrs, foxtails, or even ice, leading to irritation and potential infection. The fur between their toes, especially on longer-haired Labs, can mat up, causing discomfort and pulling on the skin. Regular inspection of these areas is just as critical as checking the pads, as a tiny burr caught deep between the toes can cause immense pain and lead to compulsive licking, which only exacerbates the problem.
Common Paw Problems and What to Look For
One of the most frequent issues is dryness and cracking of the paw pads. This often occurs in extreme weather, like hot summers (walking on hot pavement) or cold winters (ice, snow, road salt). Dry pads can become brittle and crack, making them prone to bleeding and infection. You might notice your Labrador limping slightly, refusing to walk, or licking their paws excessively.
Another common problem is foreign objects lodged in the paw. Grass awns, small stones, thorns, or even tiny pieces of glass can get stuck between the pads or deep in the fur, causing immense pain. Signs include sudden lameness, continuous licking, swelling, or even a small, localized infection. Allergies, much like with ears, can also manifest in the paws. Dogs with environmental or food allergies often chew and lick their paws constantly, leading to red, irritated, or even infected skin between their toes. If you've ever seen your Labrador constantly gnawing at their feet, it's often a sign of irritation or allergy, which can quickly turn into Why Labradors Lick Their Paws Raw.
Protecting Your Labrador's Paws from the Elements
Prevention is the best medicine when it comes to paw care. In hot weather, avoid walking your Labrador on hot pavement, asphalt, or sand during the warmest parts of the day. A good rule of thumb: if it's too hot for your bare hand, it's too hot for their paws. Opt for walks in the early morning or late evening, or stick to grassy areas. Consider investing in protective dog booties for extreme heat, though many Labradors take some convincing to wear them!
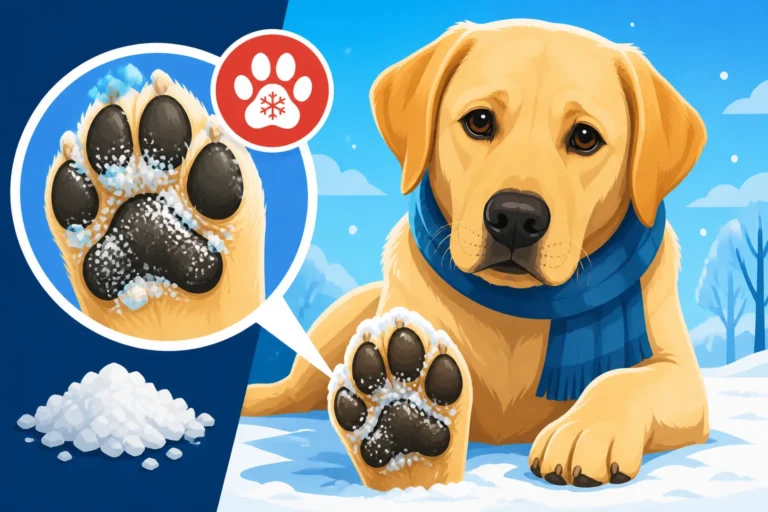
During winter, ice, snow, and especially de-icing chemicals and road salt can be incredibly damaging to paw pads. These substances can cause dryness, cracks, and chemical burns. After winter walks, always rinse your Labrador's paws with lukewarm water and thoroughly dry them to remove any residue. Again, booties can offer excellent protection in snowy or icy conditions. For those long hikes or adventurous outings, a paw balm or wax can create a protective barrier against rough terrain and extreme temperatures. These products, readily available from online pet suppliers like Chewy, can help to strengthen and moisturize the pads, making them more resilient.
Routine Paw Care for a Happy, Healthy Labrador
Regular paw care isn't just about preventing problems; it's about ensuring your Labrador remains comfortable and eager for all the adventures you share. Integrating these simple steps into your weekly routine can make a huge difference in their long-term paw health. Think of it as a mini spa day for your best friend!
Cleaning and Inspecting Paw Pads
After every walk, especially if you've been on varied terrain or through muddy areas, it’s a good habit to quickly clean and inspect your Labrador’s paws. A simple rinse with warm water and a thorough towel dry is usually sufficient. Pay close attention to the spaces between their toes, where debris loves to hide. Look for any cuts, scrapes, thorns, burrs, or foreign objects. Also, check for redness, swelling, or tenderness, which could indicate an injury or infection. If you have a particularly hairy Labrador, Trimming a Labrador's Paw Hair can help prevent matting and make it easier to spot issues.
Sometimes, after a long hike or a beach trip, a more thorough cleaning might be needed. You can use a mild, dog-specific shampoo and warm water to wash their paws, making sure to rinse thoroughly. Always dry their paws completely afterwards, as trapped moisture can lead to yeast infections. A quick check for paw pad integrity – looking for cracks, peeling, or unusually rough patches – should also be part of this routine. This regular physical interaction also helps desensitize your Labrador to having their paws handled, which is invaluable for nail trims and vet visits.
Moisturizing and Protecting Paw Pads
Just like our hands, paw pads can get dry and chapped, especially with exposure to harsh elements. Using a dog-specific paw balm or wax regularly can help keep their pads supple and prevent cracking. Apply a small amount and gently massage it into the pads, making sure it absorbs. Products containing ingredients like shea butter, beeswax, or vitamin E are excellent choices. Many brands are safe for dogs to lick, but always check the label. You can find these helpful balms on Amazon or from specialty pet retailers.
For dogs who spend a lot of time indoors on Slippery Floors and a Labrador's Paws, ensuring their pads are healthy can also improve their grip. Dry, brittle pads offer less traction, potentially leading to slips and falls, especially in older Labradors or those with joint issues. Regular moisturizing helps maintain the natural elasticity of the pads, allowing them to grip surfaces more effectively. In addition, providing soft bedding for resting and cushioning their joints can also aid in overall paw and joint health.
Addressing Paw Licking and Chewing
If you notice your Labrador constantly licking or chewing their paws, it's a red flag that something is bothering them. Don't dismiss it as just a "quirk." This behavior can be a sign of allergies (environmental or food), pain from an injury, a foreign object embedded in the paw, a fungal infection, or even anxiety. Persistent licking creates a warm, moist environment, which can quickly lead to secondary bacterial or yeast infections, making the problem even worse.
The first step is a thorough inspection of the paw for any visible injuries or foreign objects. If you can't find anything obvious, or if the licking persists, a vet visit is essential. Your veterinarian can help identify the underlying cause and recommend appropriate treatment, which might include allergy medication, antibiotics for infection, or even a dietary change. Sometimes, simple changes like a regular paw cleaning routine and using a paw balm can alleviate mild irritation. For food allergies, a specialized diet might be suggested by your vet, and services like Ollie could offer tailored options if that's a route you explore. Ignoring chronic paw licking can lead to deep-seated issues that are much harder to resolve.
Mastering Labrador Nail Trimming: A Fear-Free Approach
The sound of long nails clicking on the floor is not just annoying; it's a sign that your Labrador is uncomfortable and potentially at risk for health problems. Many dog owners dread nail trims, and it's easy to put them off because of a previous bad experience or a resistant dog. But with the right tools, technique, and a lot of patience, you can turn this often-stressful chore into a routine, low-stress event for your Labrador.
Why Regular Nail Trimming is Crucial
Regular nail trimming is more than just cosmetic; it's vital for your Labrador's skeletal health and comfort. When nails become too long, they push back into the nail bed, putting pressure on the paw and toes. This can cause discomfort, pain, and even shift the way your dog stands and walks, leading to issues in their joints, ligaments, and even their spine over time. Imagine trying to walk with shoes that are too small, constantly pushing your toes back – that's what long nails feel like to your dog. This can be a major contributing factor to early onset Labrador Arthritis in Middle Age.
Long nails are also more prone to snagging, breaking, or tearing, which can be incredibly painful and often requires a costly emergency vet visit. These injuries can bleed profusely and easily become infected. Furthermore, overgrown nails can make it difficult for your Labrador to get proper traction, especially on slippery surfaces like hardwood floors, increasing their risk of slipping and injuring themselves. For active Labs, keeping nails short helps them move freely and confidently without obstruction.
Choosing the Right Nail Trimming Tools
There are generally two main types of tools for trimming dog nails: clippers and grinders (like a Dremel tool). Each has its pros and cons, and the best choice often depends on your Labrador's temperament and your comfort level. Guillotine-style clippers are popular and work well for many dogs, while scissor-style clippers are often preferred for larger, thicker nails. Always make sure your clippers are sharp; dull clippers can crush the nail rather than cut it cleanly, causing pain.
A Dremel or other rotary grinder can be a fantastic alternative, especially for dogs who are fearful of clippers or for owners who worry about cutting too far. Grinders allow you to remove small amounts of nail at a time, giving you more control and reducing the risk of hitting the quick. They also smooth the nail, preventing sharp edges. Regardless of which tool you choose, always have styptic powder (or cornstarch in a pinch) on hand in case you accidentally cut too far and hit the quick, which is the blood vessel and nerve within the nail.
| Nail Trimming Tool | Pros | Cons | Ideal For |
|---|---|---|---|
| Scissor Clippers | Quick, effective for thick nails | Can be intimidating, higher risk of quicking if rushed | Confident owners, dogs tolerant of nail trims |
| Guillotine Clippers | Easy to use, good leverage | Can sometimes crush nail if dull, hard to see quick | Medium-sized dogs, quick and frequent trims |
| Dremel Grinder | Less risk of quicking, smooth finish | Can be noisy/vibrating, takes longer, requires patience | Anxious dogs, owners who prefer precision, black nails |
Step-by-Step Nail Trimming Techniques
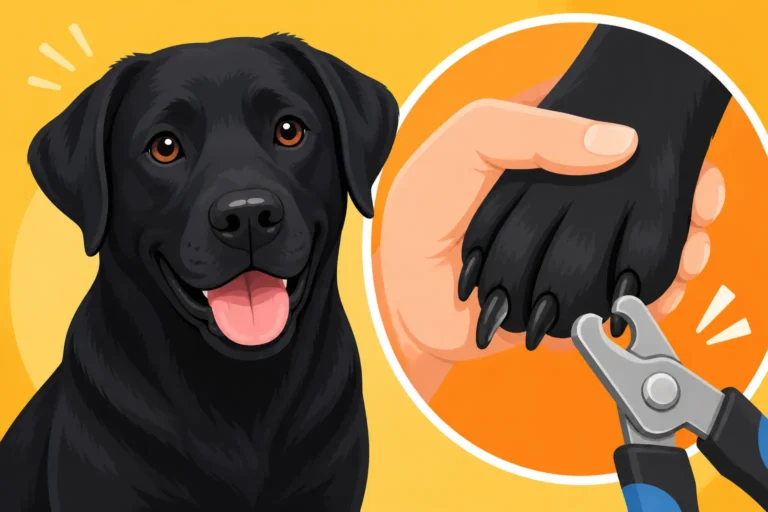
The key to successful nail trimming is to take it slow, be patient, and reward frequently. If using clippers, hold your Labrador's paw firmly but gently. Identify the quick – on light-colored nails, it's the pink part inside the white nail. On Trimming Black Nails on a Labrador, the quick is much harder to see, so you'll need to trim tiny bits at a time, looking for a small black dot in the center of the cut nail surface, which indicates you're close to the quick. Cut just below the quick, at a slight angle. It's always better to take off too little than too much.
If using a Dremel, hold the paw securely and introduce the tool slowly, letting your dog sniff it while it's off, then on. Grind small amounts of nail from the tip, shaping it smoothly. Again, go slowly, taking off a little at a time, especially with black nails. Don't hold the grinder on one spot for too long, as friction can create heat and make it uncomfortable for your dog. Remember to praise and offer high-value treats after each paw, or even after each nail if your dog is particularly anxious. Consistency is crucial, so aim for regular trims, usually every 2-4 weeks, depending on how quickly your Labrador's nails grow and how much natural wear they get. This frequent trimming will also help the quick recede over time, making future trims easier and safer. Understanding How Often a Labrador Needs Nails Trimmed will help you set a realistic schedule.
Dealing with Nail Trimming Anxiety and Accidents
Many Labradors develop an intense dislike, even fear, of nail trims. This isn't stubbornness; it's often a result of a past negative experience or the unsettling sensation of having their paws handled and nails clipped. Overcoming this anxiety requires empathy, patience, and a commitment to positive reinforcement.
Desensitizing Your Labrador to Nail Trims
If your Labrador is already fearful, the first step is to gently desensitize them to the process. Start by simply handling their paws regularly, without any tools, making it a positive experience with treats and praise. Touch their paws, gently squeeze their toes, and lift each foot. Do this several times a day for short sessions. Once they're comfortable with paw handling, introduce the clippers or Dremel. Let them sniff the tool, place it on the floor, give a treat. Then, gradually work up to touching the tool to their nails (without actually trimming), followed by treats. If using a Dremel, turn it on briefly in another room, then closer, associating the sound with treats.
The goal is to break the process down into tiny, non-threatening steps. Never force your dog or scold them for being fearful, as this will only worsen their anxiety. Over several days or weeks, slowly progress to actually trimming just one nail, then immediately reward them with their absolute favorite treat or a quick game of fetch. Keep sessions very short and always end on a positive note. This process of Desensitizing a Labrador to Nail Trims takes time, but it’s an investment in a stress-free future for both of you.
Handling a Quicked Nail
Accidents happen, even to the most careful owners. If you accidentally cut into the quick, your Labrador will likely yelp, pull their paw away, and it will bleed. The important thing is to remain calm. Your dog will pick up on your anxiety. Immediately apply styptic powder (or cornstarch/flour if you don't have styptic powder) to the bleeding nail and apply gentle pressure. The bleeding should stop within a few minutes. If you don't have styptic powder readily available, it's worth adding to your pet first aid kit, which you can easily order from Amazon.
After the bleeding stops, reassure your Labrador with gentle praise and treats. Don't continue trimming the other nails during that session. You want to make sure the memory isn't solely negative. A quicked nail is painful but usually not serious, though it can cause temporary discomfort and limping. If the bleeding is excessive, doesn't stop, or if your dog seems to be in severe pain or develops an infection, contact your veterinarian. This experience can unfortunately set back your desensitization efforts, so be extra patient and positive during subsequent attempts.
Long-Term Strategies for Nail Health
Beyond regular trims and desensitization, there are other ways to promote healthy nails for your Labrador. Ensuring your dog gets plenty of exercise on varied surfaces, such as concrete sidewalks or rough trails, can help naturally wear down their nails between trims. However, be mindful of surfaces that are too harsh or hot, which can damage paw pads. Providing a high-quality diet also plays a role in nail health, as healthy nails are less prone to brittleness or splitting.
For Labradors with particularly thick, fast-growing nails, or those who resist trimming, consider seeking professional help from a groomer or veterinary technician. They often have specialized tools and techniques, like a high-speed grinder or specific handling methods, that can make the process less stressful. Sometimes, a series of professional trims can help get the nails back to a manageable length, making at-home maintenance easier. Some vets can also prescribe a mild sedative for extremely anxious dogs, allowing for a stress-free trim in a clinical setting. Remember, healthy nails are a cornerstone of your Labrador's overall comfort and mobility.
Disclaimer
This article is for general informational purposes only and does not constitute professional advice. Laws, prices and regulations vary by location and change over time. Consult a qualified professional for guidance on your specific situation.